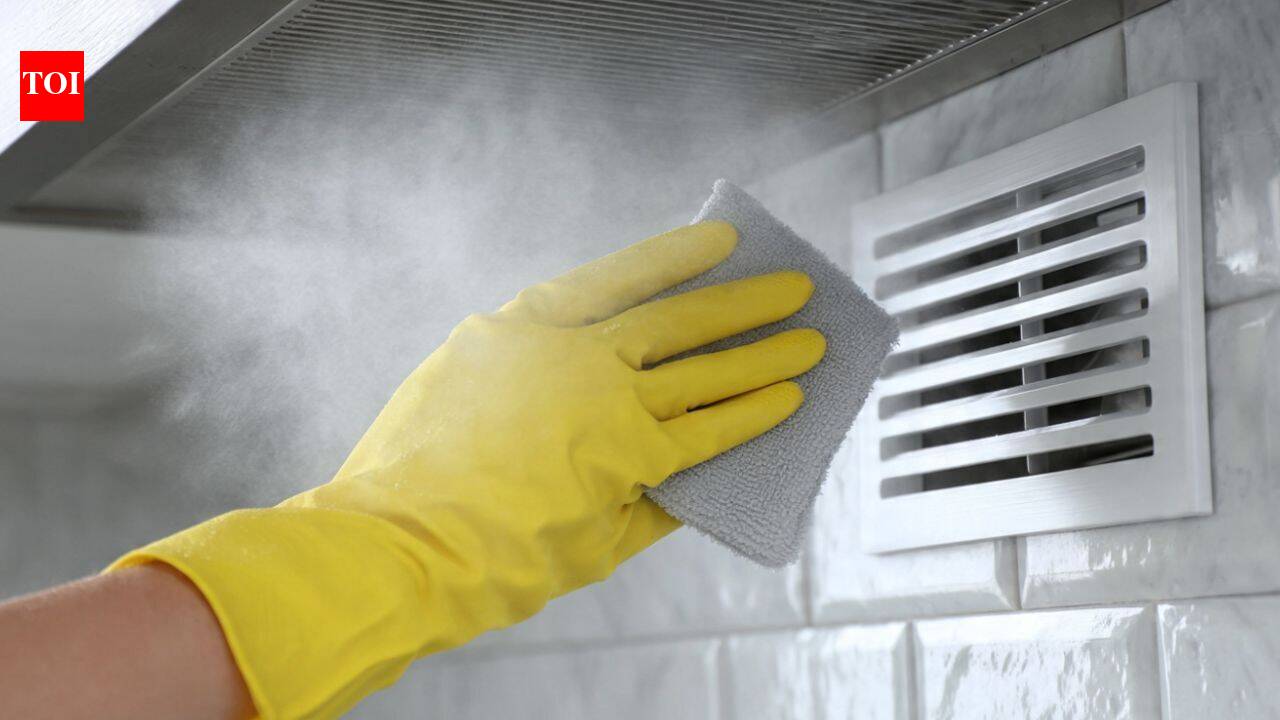

An exhaust fan quietly removes steam, cooking fumes, moisture and everyday odours from the home. Over time, it also collects dust, grease and fine particles that gradually build up on the blades. As this layer becomes thicker, the fan may move less air and work less efficiently.Many people put off cleaning because they believe the entire unit needs to be removed first. In most cases, regular maintenance can be done while the fan remains in place. With the right cleaning method and a little care, it is possible to remove everyday dirt, improve airflow, and help the fan continue working efficiently for longer.
Simple steps to clean an exhaust fan without removing it
1. Remove dry dust before using any cleaning solution
Dust should never be wiped with a wet cloth straight away. That usually turns it into a sticky layer that becomes harder to remove. Instead, use a soft brush, a microfibre duster or a vacuum cleaner fitted with a brush attachment. Lifting away loose dust first makes the rest of the cleaning much easier. It also prevents dirt from being pushed deeper into the vents where it continues to build up.
PC: AI Generated
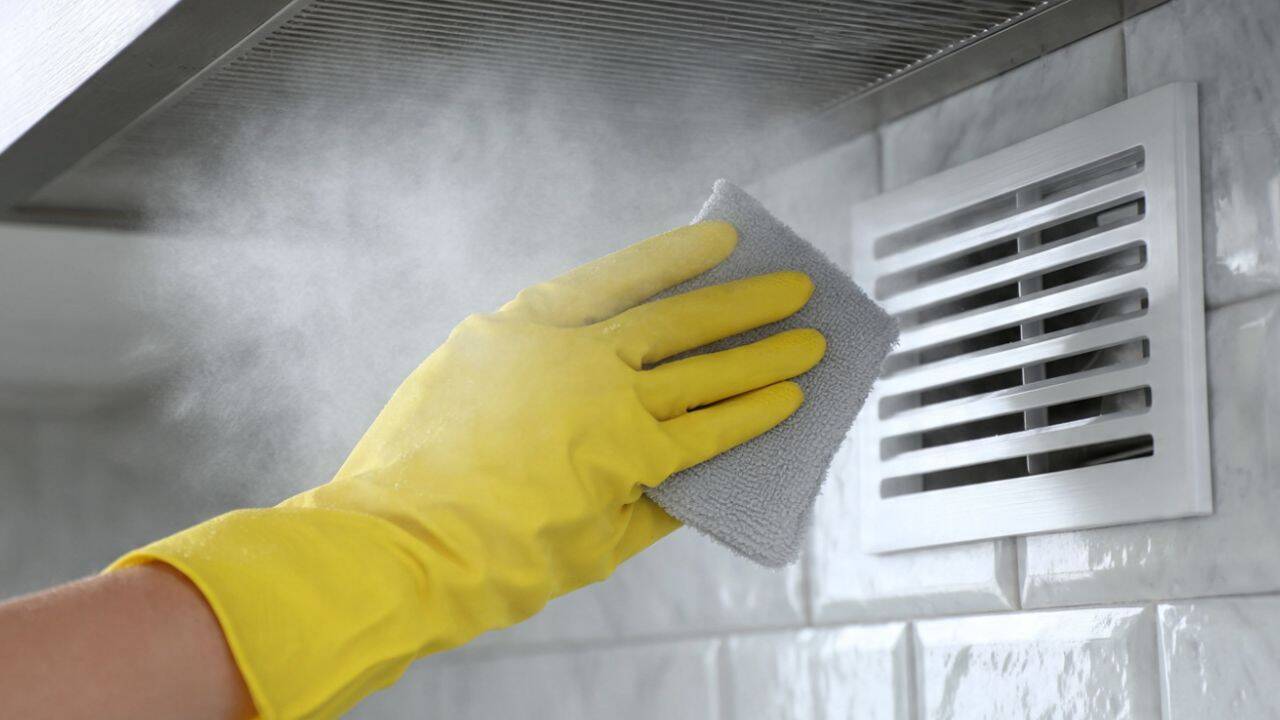
2. Wipe the grille and blades with a damp microfibre cloth
A bowl of warm water mixed with a small amount of mild liquid is usually enough for routine cleaning. Dip a microfibre cloth into the solution and squeeze out as much water as possible. The cloth should feel damp rather than wet. Wipe the surface gently, including the grille and visible blades. Excess water should always be avoided because moisture can damage the electrical parts hidden inside it.
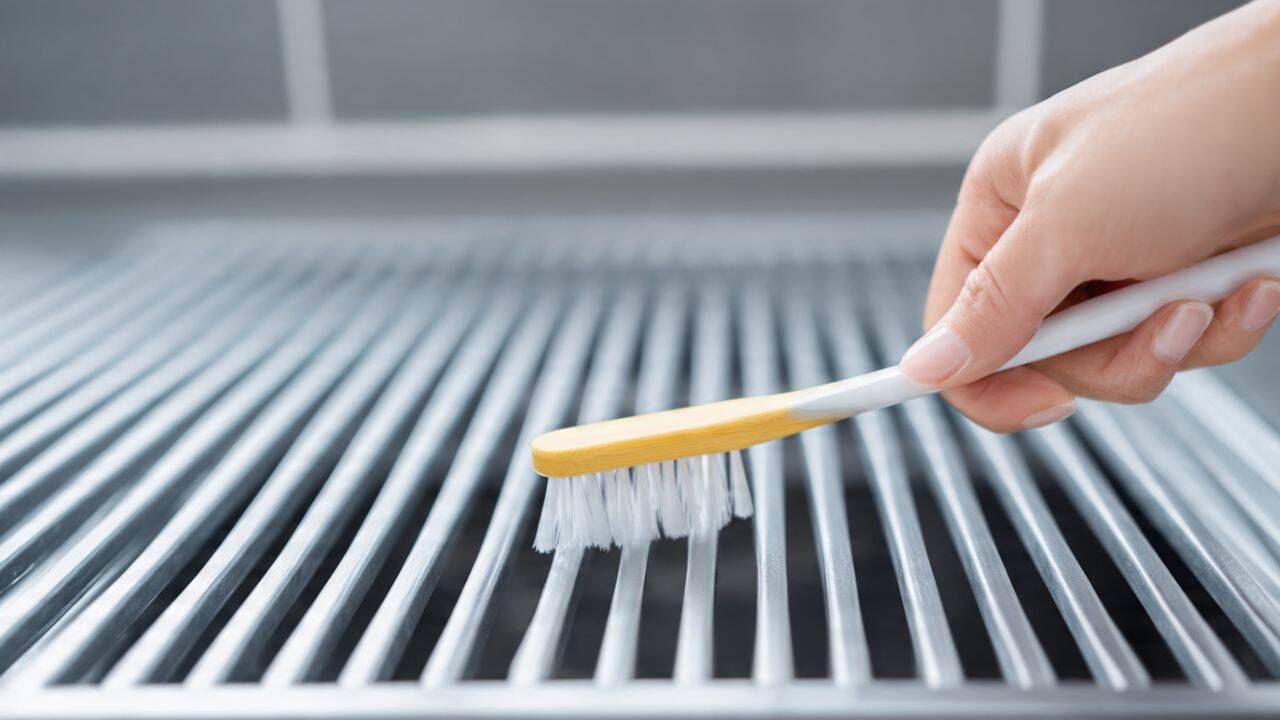
3. Clean narrow corners with a soft toothbrush
Dust and grease often collect around the edges of the grille where larger cloths cannot reach. A clean toothbrush with soft bristles works well in these small spaces. Gentle brushing loosens stubborn dirt without scratching the surface. Once the debris has been removed, wipe it away immediately with a dry or slightly damp cloth. This simple step leaves the fan noticeably cleaner without taking it apart.
PC: AI Generated
4. Remove greasy build-up with a mild kitchen degreaser
Kitchen exhaust fans often develop a sticky coating that ordinary soap cannot remove completely. A gentle household degreaser can help dissolve this layer without damaging the finish. The cleaner should always be sprayed onto a cloth rather than directly onto the fan itself. This gives better control and prevents liquid from reaching the motor. A slow, careful wipe is usually far more effective than aggressive scrubbing.
5 cleaning mistakes that can damage an exhaust fan
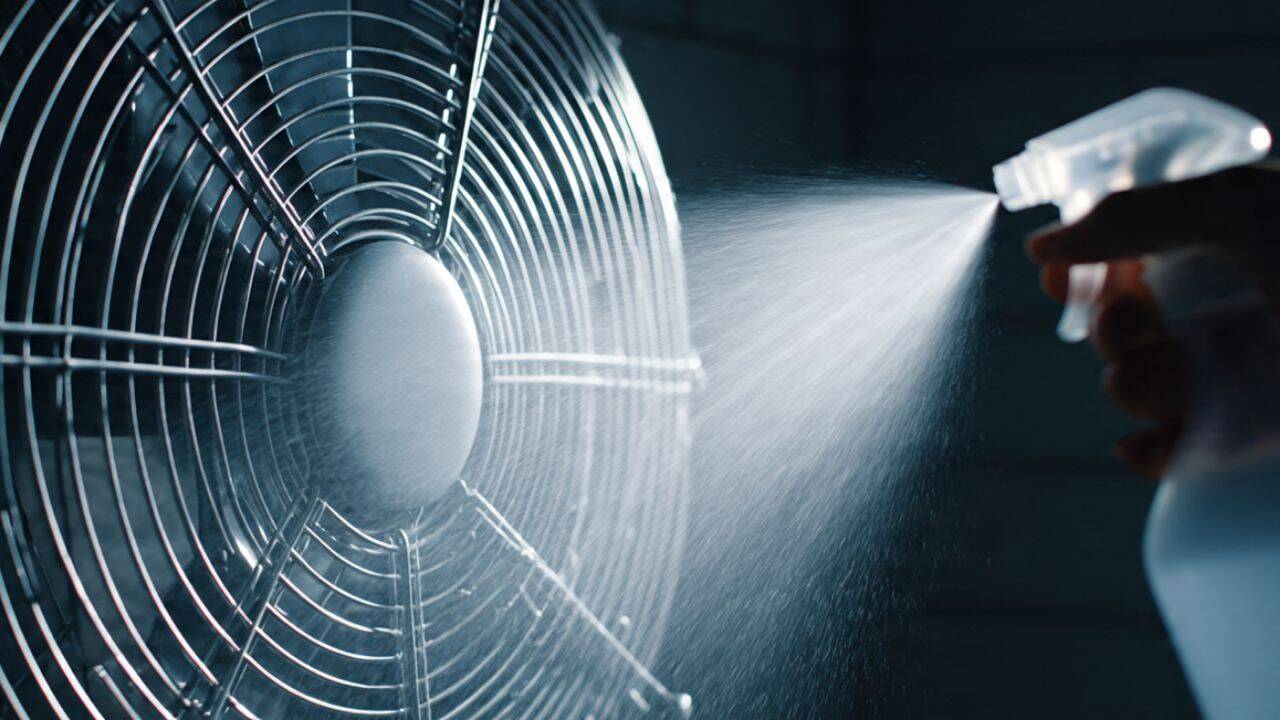
1. Spraying cleaner directly onto the fan
Spraying cleaning products straight onto the fan may look convenient, but it creates unnecessary risk. Liquid can move through the grille and reach the motor or electrical connections hidden behind it. Even a small amount of moisture can affect performance over time. Spraying the cleaner onto a cloth first gives far better control and keeps sensitive components protected throughout the cleaning process.
PC: AI Generated
2. Using abrasive scrubbers on the surface
Hard scrubbing pads may remove grease quickly, but they can also scratch plastic covers and painted surfaces. Those scratches trap dust more easily and make the fan look worn even after it has been cleaned. A soft microfibre cloth or a gentle brush usually removes everyday dirt just as effectively.
3. Switching the fan on before it dries
Even careful cleaning leaves behind a little moisture. The fan should always be allowed to dry naturally before the power is switched on again. A clean dry cloth can remove most of the remaining water, but giving the appliance a little extra time to air dry adds another layer of protection. It is a small habit that helps prevent avoidable electrical problems.
4. Do not wait until grease becomes difficult to remove
An exhaust fan cleaned once every few weeks rarely develops thick deposits of grease or dust. The longer cleaning is delayed, the more stubborn that build-up becomes. What could have been removed with a quick wipe may eventually require repeated cleaning sessions. Regular light maintenance saves time and helps the fan continue working efficiently throughout the year.
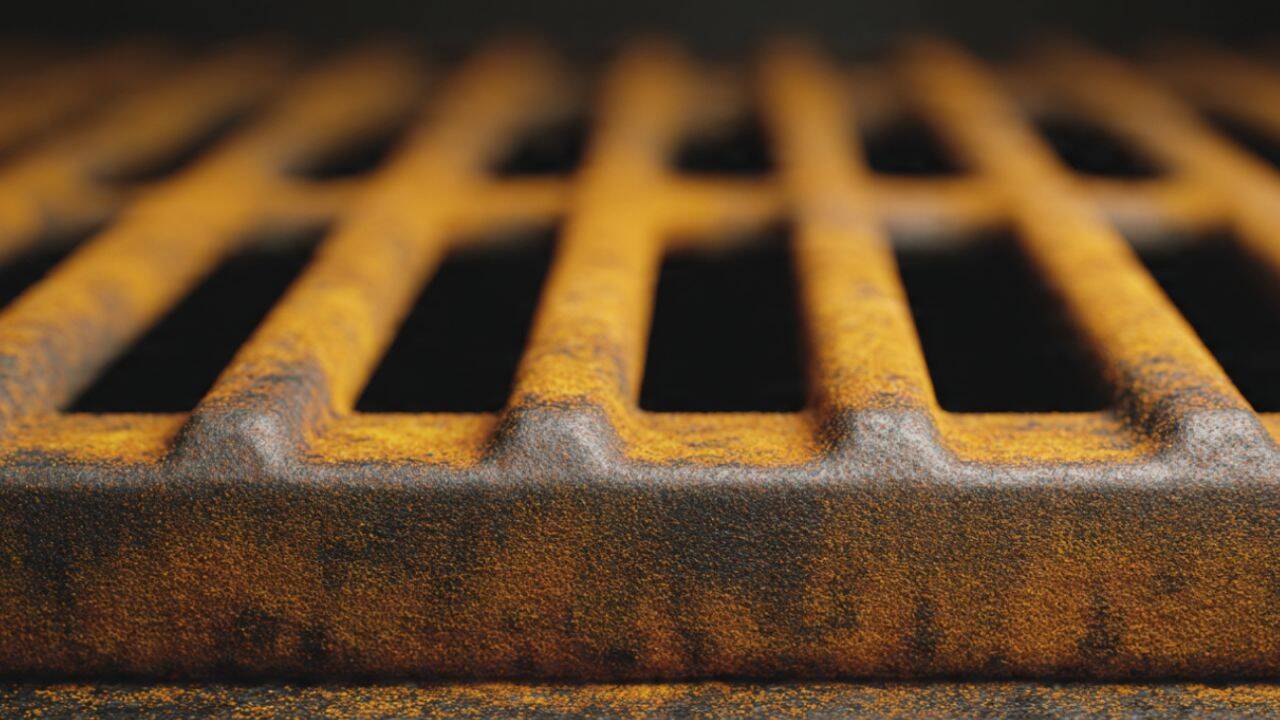
PC: AI Generated
5. Do not ignore unusual sounds or weak airflow
If the fan continues making unusual noises or the airflow remains weak after it has been cleaned, the issue may be mechanical rather than cosmetic. Worn bearings, loose fittings, or a failing motor may require professional attention. Continuing to use a faulty fan can place additional strain on the appliance and shorten its lifespan.