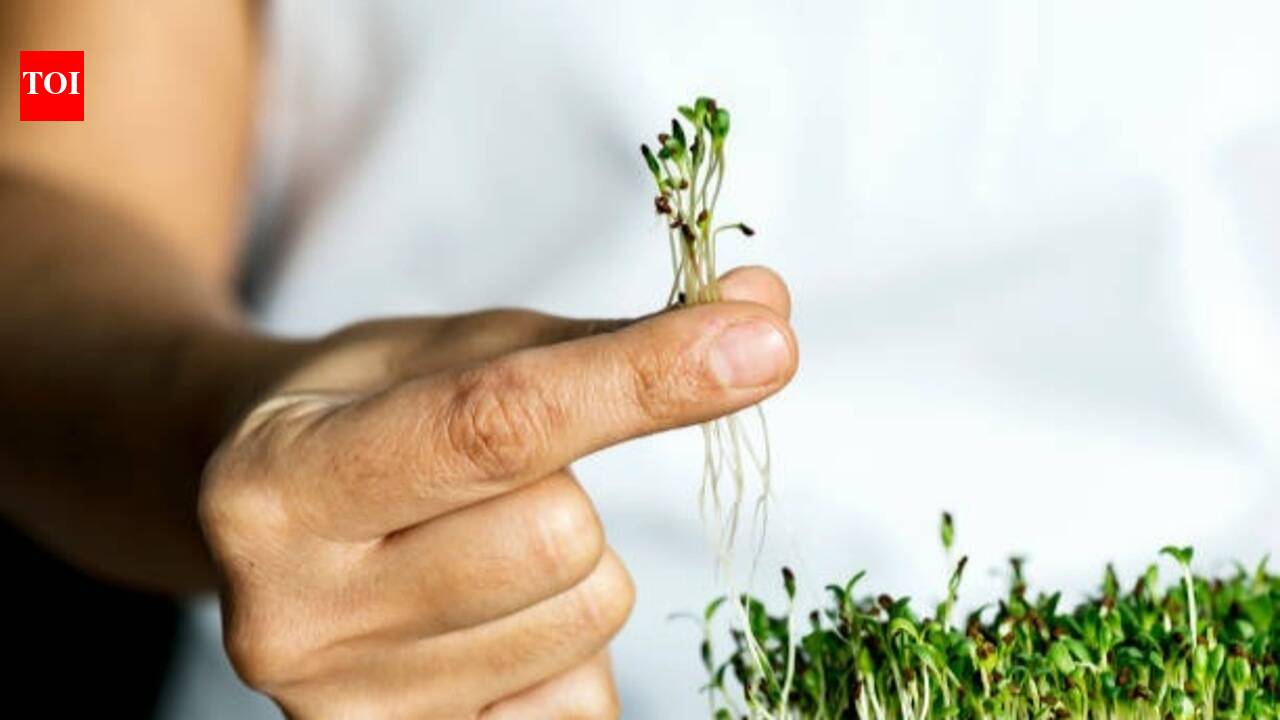
Microgreens have quietly become one of the most rewarding things a beginner gardener can grow, mostly because they deliver a genuine harvest in under two weeks, without months of waiting for a single tomato to ripen. These aren’t sprouts, which are grown entirely in water without light, and they’re not quite baby greens either, which are left to grow for several more weeks. Microgreens sit in the middle, harvested just after the first true leaves appear above the initial seed leaves, packing an outsized amount of colour, crunch, and flavour into a tray that takes up barely any windowsill space. If you’ve been hesitant to start a balcony garden because you don’t trust yourself to keep a full plant alive, this is about as forgiving an entry point as gardening gets.
Choosing your seeds
Not every seed makes a good microgreen, but plenty of everyday Indian kitchen staples do. Radish, mustard, and fenugreek (methi) are some of the fastest and most forgiving to start with, sprouting quickly and tolerating beginner mistakes reasonably well. Coriander, amaranth, sunflower, and pea shoots are excellent next steps once you’ve got the basics down, each bringing a distinctly different flavour and texture to the tray. It’s worth specifically buying seeds labelled for sprouting or microgreens rather than seeds meant for regular garden planting, since some treated agricultural seeds aren’t intended for this kind of quick, edible harvest.
Picking a growing medium and tray
A shallow tray, ideally with drainage holes, around two to three inches deep, is really all the container you need. For the growing medium, a light, well-draining potting mix or coco peat works well and is the most beginner-friendly option, though soilless alternatives like a thick paper towel or a reusable grow mat are popular too, particularly for anyone who wants a cleaner, less messy harvest at the end. Whichever you choose, fill the tray to about an inch deep and level the surface gently before sowing, since an uneven bed leads to uneven growth later on.
Sowing the seeds the right way
This is the step where patience actually pays off. Larger seeds like sunflower and peas benefit from a soak in water for eight to twelve hours before sowing, which speeds up germination considerably, while smaller seeds like radish, mustard, and coriander can go straight onto the tray without soaking. Scatter the seeds densely and evenly across the surface, close enough that they’re almost touching but not layered on top of each other, then press them gently into the medium without burying them, and mist the surface until it’s evenly damp.
The blackout period
Covering the tray with another upturned tray, a sheet of cardboard, or a dark cloth for the first two to four days encourages the seeds to germinate and stretch upward in search of light, resulting in longer, straighter stems once they emerge. Checking underneath once a day to mist the surface and make sure it hasn’t dried out is worth the small effort, since this stage is where most of the actual sprouting happens even though nothing is visible from the outside. Once you see the seedlings pushing up against the cover, it’s time to remove it and let the light in.
Light and watering once they sprout
After the blackout period ends, the tray needs a spot with bright, indirect light, or a few hours of gentle morning sun on a balcony, to develop proper colour and flavour rather than growing pale and leggy. Watering from the bottom, by setting the tray briefly in a shallow dish of water and letting the medium soak it up, tends to work better than watering from above, since wet leaves sitting in a humid, crowded tray are one of the more common causes of mould. A light misting once or twice a day is usually enough to keep the surface from drying out completely.
Knowing when and how to harvest
Most microgreens are ready to harvest within seven to fourteen days of sowing, depending on the variety, once the first set of true leaves has appeared just above the initial rounded seed leaves. Using a clean pair of scissors, cut the stems just above the soil line in small batches, harvesting only what you plan to use fairly soon, since fresh-cut microgreens don’t keep for long once removed from the tray. A quick rinse before eating is a good habit regardless of how clean the growing setup was, the same as you’d do with any other fresh produce.
Common mistakes to avoid
Overcrowding the seeds is the single most common misstep, since a tray packed too densely traps moisture and invites mould before the greens even get a chance to mature properly. Overwatering runs a close second, particularly when watering from above rather than the bottom, and using ordinary garden soil instead of a clean potting mix or dedicated growing medium can introduce pathogens that a controlled, indoor tray setup is specifically meant to avoid. Getting these three details right solves the overwhelming majority of problems beginners run into.
A fast, forgiving way to start gardening
What makes microgreens such a good starting point isn’t just the speed, it’s how much room there is to get things slightly wrong and still end up with something worth eating. A single windowsill tray, restarted every couple of weeks, can keep a steady, low-effort supply of fresh greens coming without ever demanding the space, patience, or expertise a full vegetable garden usually asks for.